
How do you protect yourself Dangers of Wood Dust
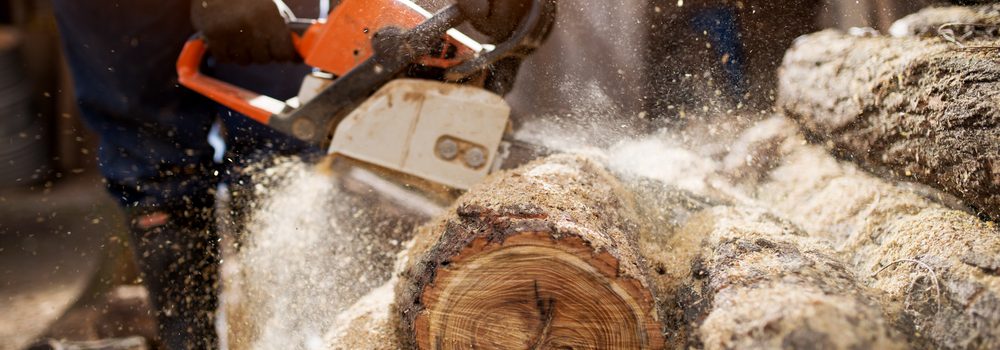
Dangers of Wood Dust
Health authorities in Canada have warned woodworkers of the hazards of constant exposure to wood dust. As the Canadian Center for Occupational Health and Safety and the International Agency for Research on Cancer put it, wood naturally contains dangerous chemicals such as molds, fungi, and bacteria.
Because of the dangers associated with wood dust, there are certain occupations that are considered at risks such as works in the construction, furniture and wood carpentry, logging, sawmills, and carpenters.
Risks Associated with Wood Dust
-
Dust particle inhalation
Occupational asthma and lung cancer are among the common health problems associated with constant dust exposure. It can start with breathing problems. Here you can learn more https://www.cancer.gov/about-cancer/causes-prevention/risk/substances/wood-dust
-
Eye Damages
Wood dust is a small particle that floats in the air. It is too small that it can easily enter your eyes and cause irritation. Eye irritation can cause eye damage when not taken seriously. Just imagine how much you rub your eyes when it is irritated.
Skin Problems
Constant exposure to wood dust can also irritate your skin. It can cause skin irritation, dermatitis, and ulceration.
How to Protect Yourself from Wood Dust?
In order to protect workers who are in the wood industry, here are some things that they should do (or their company should observe during work hours).
Know your wood – each type of wood has its own type of dust. Knowing the type of wood you are working with will help you protect yourself better against unknown wood chemicals.
Work in a ventilated area – if you are working in a closed environment like carpenters who are in making cabinets in a specific room, make sure that your work area is fully ventilated.
Keep your tools sharp and properly maintained – using dull tools or poorly maintained carpentry tools will only release more dust in the air.
Maintain a clean working station – after each workday, make sure that your work area is properly cleaned. Use a vacuum with a HEPA filter to remove even the smallest dust particle.
Wear proper work outfit – wear masks or clothing with respiratory protection to minimize the possibilities of inhaling dust and other wood particles while working. In addition, keep your hands and face clean by constantly washing it with clean water.
Controlling Wood Dust Exposure
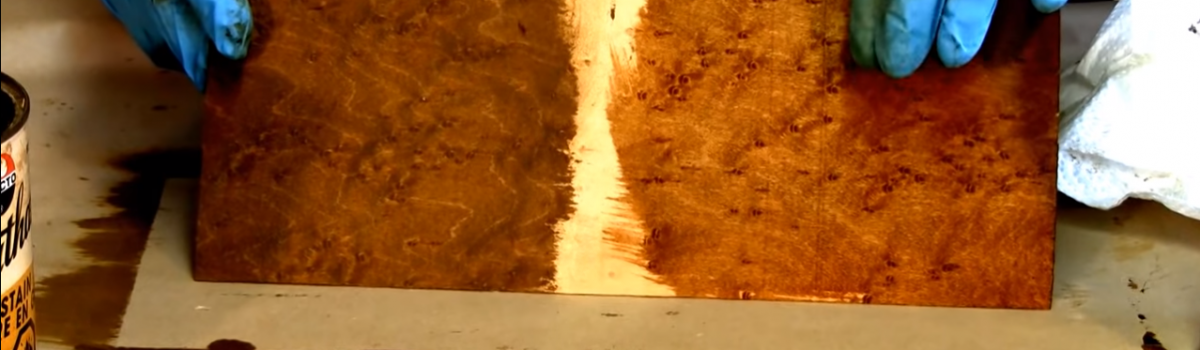
 Dying should be used to put emphasis on fine wood grains such as walnut burl or bird’s eye maple. It is also used for dense woods like hard maple. You can also use dying to balance the color of walnut sapwood. Lastly, dying is also highly recommended if you are working with a blotch-prone wood, say pine tree.